Product Instructions

Collapsible content

Dip Powder Application

Dip Powder Application

Step 1: File nails to desired length and shape.

Step 2: Push back and remove any cuticle on the nail plate.

Step 3: Gently buff the shine off of the nails with a buffing block. Brush off dust.

Step 4: Cleanse the nails with rubbing alcohol or a dehydrator.

Step 5: Apply a thin layer of base coat to the nail, avoiding your skin and cuticles. Dip into the powder and tap off the excess. Wait a few seconds before dusting off the excess powder. Be sure to wipe your base coat brush off on a napkin or lint free wipe before returning it to the bottle.

*tip - use a toothpick to clean around your cuticle area after dipping to remove any product on your skin.

Step 6: Repeat step 5 on each finger, for a total of 2-3 layers until you have reached your desired strength and opacity.

Step 7: Apply a generous layer of activator to all of the nails. Let dry for 2 minutes.

Step 8: File the nails into shape and buff the surface of the nails smooth. Brush off all excess dust.

Step 9: Apply a generous layer of activator to all of the nails. Let dry for 2 minutes.

*tip - once dry, use a napkin or lint free wipe to wipe the nail and remove any leftover residue.

Step 10: Apply a thin layer of top coat to the nail, 2-3 quick strokes, avoiding your skin and cuticles. Repeat for each nail. Be sure to wipe your top coat brush off on a napkin or lint free wipe before returning it to the bottle.

Step 11: Immediately following, apply a 2nd more detailed layer of top coat. Repeat for each nail. Let that dry for 5 minutes.

Step 12: Apply cuticle oil and enjoy your beautiful manicure!


Dip Powder Liquid Care

Tip 1: Always store bottles upright, in a cool area, away from sunlight.

Tip 2: Wipe your base coat brush and top coat brush off on a napkin or lint free wipe after each use, before putting it back in the bottle. This prevents crosscontamination and extends the longevity of the liquids.

Tip 3: After your manicure is complete, wipe the neck of the bottles with a lint free wipe or napkin. This removes any product residue that could potentially contaminate and seal the bottles shut.

Dip Powder Application - Dip Liquids and Gel Top Coat

Dip Powder Liquids + 2-in-1 Gel Base/Top Coat

 Step 1: File nails to desired length and shape.

Step 2: Push back and remove any cuticle on the nail plate.

Step 3: Gently buff the shine off of the nails with a buffing block. Brush off dust.

Step 4: Cleanse the nails with rubbing alcohol or a dehydrator.

Step 5: Apply a thin layer of base coat to your nail, avoiding your skin and cuticles. Dip into the powder and tap off the excess. Wait a few seconds before dusting off the excess powder. Be sure to wipe your base coat brush off on a napkin or lint free wipe before returning it to the bottle.

Step 6: Repeat step 5 on each finger, for a total of 2-3 layers until you have reached your desired strength and opacity.

Step 7: Apply a generous layer of activator to all of the nails. Let dry for 2 minutes.

Step 8: File the nails into shape and buff the surface of the nails smooth. Brush off all excess dust.

Step 9: Cleanse the nails with rubbing alcohol and a lint free wipe.

Step 10: Apply a thin layer of 2-in-1 gel base/top coat across the entire nail. Repeat for each nail. Cure for 60 seconds.

Step 11: Apply cuticle oil and enjoy your beautiful manicure!

Builder Gel Application

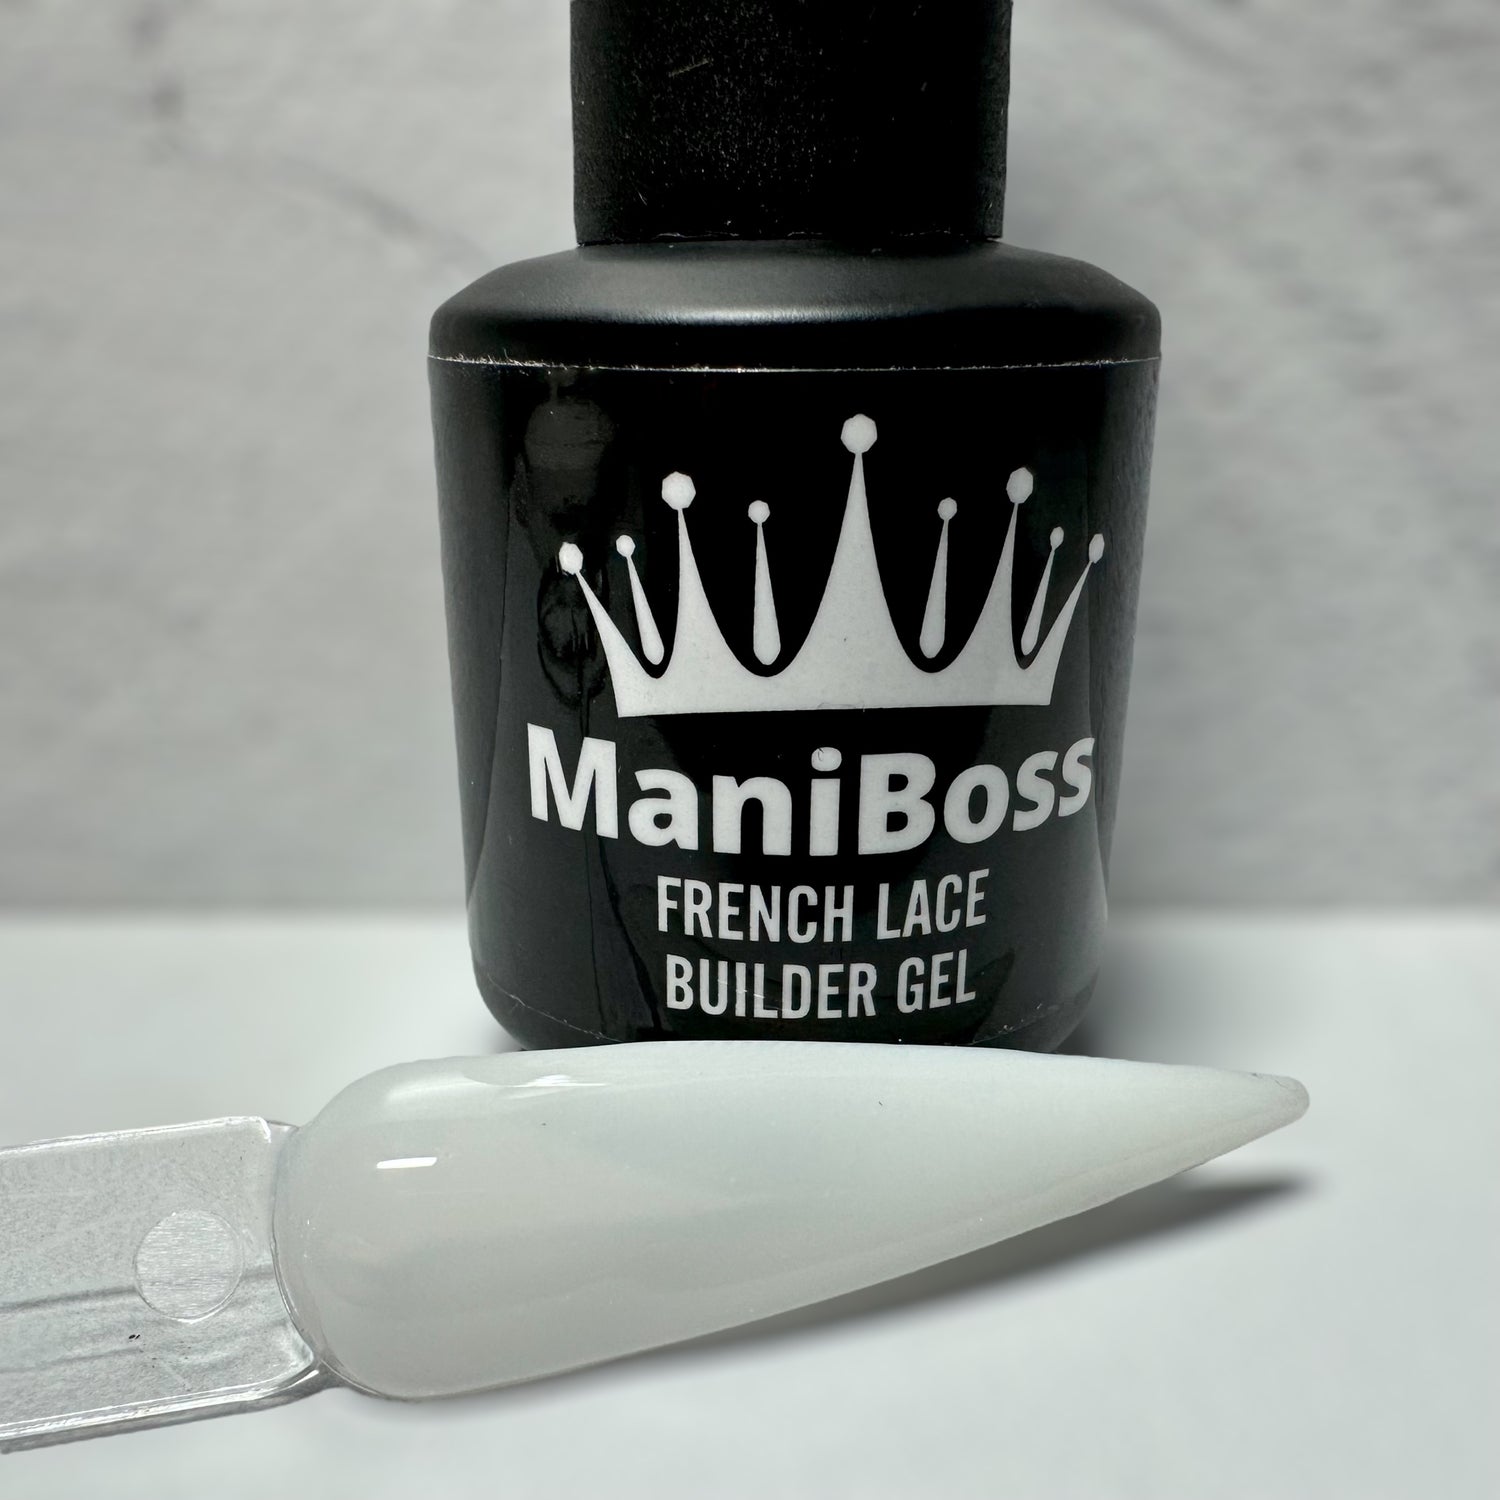
Builder Gel Information

Builder gel is a thicker consistency product that is perfect for protecting your natural nails! It works great underneath dip powder and alongside with peel base. If you accidentally get builder gel on your skin during application, be sure to remove it before curing. While applying builder gel gravity is your friend! If you flip your hand palm facing up (before curing), it can help the gel to form a natural apex. To remove the builder gel, it is best to file down the product as much as possible before soaking it off.


Builder Gel Instructions


Step 1: File nails to desired length and shape.

Step 2: Push back and remove any cuticle on the nail plate.

Step 3: Gently buff the nail to remove the shine. Brush off excess dust.

Step 4: Cleanse the nails with rubbing alcohol or dehydrator.

Step 5: Apply Acid-Free Bond (optional - for longer wear time and adhesion).  

Step 6: Apply a full layer of Gel Base Coat, cure for 60 sec.

Step 7: Apply a thin, full coverage layer of builder gel. TIP: Flip hand palm side up for a few seconds so the gel can self-level to form an apex.

Step 8: Cure for 60 sec.

Step 9: Apply a thin, full coverage layer of builder gel. TIP: Flip hand palm side up for a few seconds so the gel can self-level to form an apex.

Step 10: Cure for 60 sec. (repeat steps 9 and 10 until you reach your desired thickness)

Step 11: Cleanse the nail with rubbing alcohol and a lint free wipe.

Step 12: File, shape, and buff the nail. Brush off excess dust.

Step 13: Cleanse the nail with rubbing alcohol and a lint free wipe.

Step 14: Apply a full layer of Gel Base Coat, cure for 30 sec. Follow up with a full layer of Gel Top Coat, cure for 60 sec.

Step 15: Apply cuticle oil, if desired.

Step 16: Admire your beautiful manicure! 

TIP: At this point, you can apply peel base OR use dip powder right on top!


Builder Gel Apex Instructions

Step 1: File nails to desired length and shape.

Step 2: Push back and remove any cuticle on the nail plate.

Step 3: Gently buff the nail to remove the shine. Brush off excess dust.

Step 4: Cleanse the nails with rubbing alcohol or dehydrator.

Step 5: Apply Acid-Free Bond (optional - for longer wear time and adhesion).  

Step 6: Apply a full layer of 2-in-1 Gel Base and Top Coat, cure for 60 sec. *If you do not have the 2 in 1, apply a gel base and cure for 60 sec.

Step 7: Apply a thin, full coverage layer of builder gel. TIP: Flip hand palm side up for a few seconds so the gel can self-level to form an apex.

Step 8: Cure for 60 sec.

Step 9: Apply a thin, full coverage layer of builder gel. *DO NOT CURE YET

Step 10: Apply a thin bead of builder gel down the center of the nail. TIP: Flip hand palm side up for a few seconds so the gel can self-level to form an apex.

Step 11: Cure for 60 sec.

Step 12: Cleanse the nail with rubbing alcohol and a lint free wipe.

Step 13: File, shape, and buff the nail. Brush off excess dust.

Step 14: Cleanse the nail with rubbing alcohol and a lint free wipe.

Step 15: Apply a full layer of 2-in-1 Gel Base and Top Coat, cure for 60 sec. *If you do not have the 2 in 1, apply a gel top coat and cure for 60 sec.

Step 16: Cleanse the nail with rubbing alcohol and a lint free wipe.

Step 17: Admire your beautiful manicure! 

TIP: At this point, you can apply peel base OR use dip powder right on top!


Gel Method with Dip Powder

2-in-1 Gel Base/Top Coat Application

+ Dip Powder

 Step 1: File nails to desired length and shape.

Step 2: Push back and remove any cuticle on the nail plate.

Step 3: Gently buff the shine off of the nails with a buffing block. Brush off dust.

Step 4: Cleanse the nails with rubbing alcohol or dehydrator. Apply a primer.

Step 5: Apply a thin layer of 2-in-1 gel base/top coat to the nail. Avoiding your skin and cuticle. Pour the powder over the nail, above a cupcake liner. Repeat for each nail.

Step 6: Cure in a UV/LED lamp for 60 seconds.

Step 7: Brush off excess powder.

Step 8: Repeat steps 5-7 for a total of 2-3 layers until you reach your desired strength and opacity.

Step 9: Apply a thin layer of 2-in-1 gel base/top coat across the entire nail. Repeat for each nail. Cure for 60 seconds.

Step 10: File the nails into shape and buff the surface of the nails smooth. Brush off all excess dust.

Step 11: Cleanse the nails with rubbing alcohol on a lint free wipe.

Step 12: Apply a thin layer of 2-in-1 gel base/top coat across the entire nail. Repeat for each nail. Cure for 60 seconds.

Step 13: Apply cuticle oil and enjoy your beautiful manicure!

Peel Base Instructions

Peel Base

Peel base is an amazing product for nail enthusiasts that want to switch up their manicures often. It allows you to remove the dip powder by simply popping it off! This product is not meant for longevity and wear time may vary. On average, a manicure with peel base can last between 1-7 days. Peel base is a wonderful alternative to soaking off dip powder with acetone. The more layers of peel base you apply, the sooner the nail enhancement will lift. For better wear time, avoid getting the peel base on your skin and side walls. This product can be used on top of your natural nails, clear dip powder, and even builder gel. All it needs is a smooth surface!


Peel Base Application

 Step 1: File nails to desired length and shape.

Step 2: Push back and remove any cuticle on the nail plate.

Step 3: Cleanse the nails with rubbing alcohol or dehydrator (optional).

Step 4: Apply a thin layer of peel base on the nail. For longer wear time, avoid getting the product on your cuticle.

Step 5: Let the peel base dry thoroughly (between 3-5 minutes).

*tip - once the peel base is dry, apply a layer of dip powder base liquid and let it dry. This gives an even surface for the dip powder application.

Step 6: Begin normal dip powder application on top.


Peel Base Removal

Step 1: File the free edges and sidewalls of your manicure.

Step 2: Place a cuticle tool or orange stick under a lifted edge and gently lift the nail enhancement. Do not pry, if you feel resistance simply file around the edges more until you see lifting.

Step 3: Pop off the dip powder.

Step 4: Prep your nails and you are ready for your next manicure!

Brush Saver Instructions

  • Remove contaminated brush from dip liquid (Dip Base or Top Coat)
  • Remove brush and cap from Brush Saver and wipe dry on a lint-free towel
    • Place brush into your dip liquid
    • Allow the new brush to acclimate to the dip liquid for approximately 6-8 hours before using, as the brush will immediately harden when you add it to the liquid (this is normal and the brush will soften as it acclimates)
  • Place contaminated brush in Brush Saver, no need to return it to the original bottle after this step
    • The brush will be clean and ready for the next time you need to swap